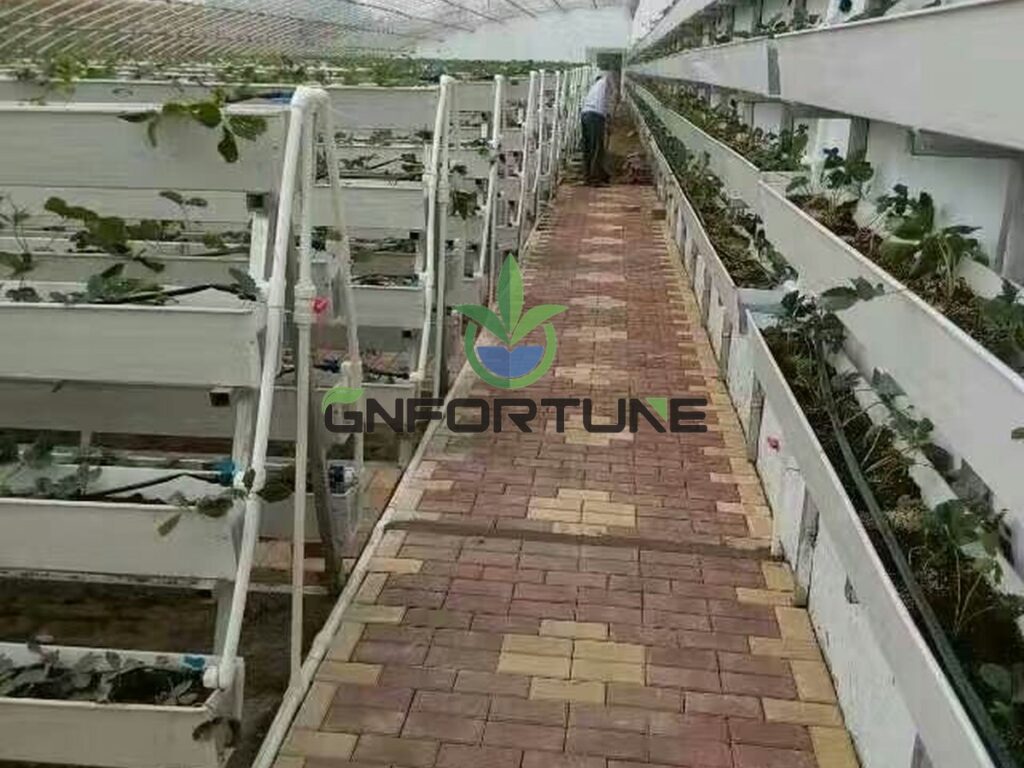

A freshly installed hydroponic pipework system looks clean and is not. Inside the new mains sit PVC swarf from cutting, cement slivers from jointing, thread-sealing compound, storage dust and the residue of a hundred hands. New-line flushing exists to remove all of it before a single seedling goes in — because the first crop always pays for what the installation left behind, in blocked emitters, fouled filters and a dirty film in every channel.
Whole-site commissioning — structural checks, electrical tests, controller logic and acceptance protocols — is its own subject and is covered separately. This article stays on the water side of the pipework: flush, test and balance, in that order.
What New-Line Flushing Has to Remove
Five categories of debris accumulate between manufacture and first water, and each behaves differently in the line:
- Extrusion and cutting swarf: thin curly shavings of PVC and PE from site cutting. They lodge in emitter seats and NFT channel entry points and are the main cause of first-month dripper blockage.
- Cement and solvent residue: globs of hardened solvent cement squeezed inside glued joints, plus primer smears. They detach in flakes once the line flexes under pressure.
- Thread-seal compounds and oils: carried along the pipe wall until they meet a filter element, which they blind quickly.
- Storage and construction dust: sand, packing debris and general site dirt that entered open pipe ends during installation.
- Stagnation biofilm: where sections sat full of water for weeks between pressure test and planting, a slime layer develops that a simple rinse does not shift.
The consequence of skipping or rushing the flush is predictable: filters that clog every second day for the first month, emitters that run low while their neighbours run full, and a channel film streaked with debris that algae colonises. Prevention is cheaper than any of it with a crop in place.
New-Line Flushing: Sequence, Velocity and Duration
The workable sequence is fill, soak, flush, verify. Fill slowly so debris is lifted rather than compacted, let the line soak so cement and glue residues soften, then flush section by section at a velocity that actually carries solids out. Trickling water polishes pipe walls; it does not move shavings.
The planning ranges below assume clean municipal or borehole supply, 50–75 mm PVC or PE mains, standard drip and NFT laterals, and an installation completed within the previous month. Confirm against your own pipe sizes and water quality.
| Stage | Planning range | Assumptions and notes |
|---|---|---|
| Initial fill and soak | Fill at ≤ 0.5 m/s; soak 1–4 h | Slow fill lifts debris instead of packing it; longer soak softens cement residue |
| Main flush velocity | 1.0–1.5 m/s in the line | Well below heads-off surge velocity; high enough to carry shavings and flakes |
| Flush duration per section | 15–30 min per branch | One branch at a time, ends open; flushing everything at once halves the velocity |
| Discharge clarity check | Two clear samples, 10 min apart | Use a white bucket; visible particles mean the section is not finished |
| Lateral and emitter flush | After main flush, before filter load | Open lateral ends and flush manifolds before installing final filter elements |
Two practical notes. First, flush with the filters’ final elements removed and the flush water routed to drain, not to tank — you are moving dirt, and the tank does not need it. Second, on recirculating systems, keep the return disconnected during flushing so nothing dirty reaches the reservoir; reconnect only after discharge clarity is confirmed.
Pressure Testing Before You Cover or Bury Anything
The pressure test proves the joints before the system becomes invisible. Test every section at the highest working pressure it will see in service, multiplied by a safety factor. A planning range of 1.25–1.5 times working pressure, held for 30–60 minutes with no measurable drop, is a common site standard — but confirm against your local plumbing code and the pipe manufacturer’s maximum test pressure, which differs by material and temperature.
Sequence matters: test after flushing, because debris at a joint can mask a poor weld, and test before insulation, backfilling or anything else that hides the pipe. Record pressure, duration, ambient temperature and result in the commissioning file. A joint that weeps at 4 bar during commissioning will fail in a wall or a trench at 3 bar next season, and by then the repair is excavation.
Balancing Zone Flows: From Design Numbers to Measured Litres
Flushing proves the line is clean; balancing proves it delivers what the design promised. Every zone was sized for a design flow, and real installations never match drawings exactly — fittings, elevation and pipe length shifts move the split. Balancing closes that gap before crops mask it.
The working method, in order:
- Write the design flow for each zone on the valve: from the irrigation design, in litres per minute or cubic metres per hour, at the pump duty point.
- Measure, do not estimate: read each zone through its flow meter or at the manifold gauge with the others closed. Guessing from pump pressure tells you almost nothing about a single branch.
- Balance farthest-first: set the most distant zone to its design flow, then work back toward the pump, adjusting each balancing valve. Adjusting a near zone changes the far zones, so a second pass is normal.
- Accept a planning tolerance of roughly ±10% of design flow per zone, assuming calibrated meters and a stable pump duty point. Emitters and channels tolerate that spread; much wider deviations show up as the last gutter on the line under-delivering.
- Re-check after the first full week of cropping: head losses shift slightly as biofilm begins to form, and the initial settings rarely move but should be confirmed.
Where readings disagree across zones despite correct valve settings, the problem is usually instrumentation or a partial blockage, not hydraulics. The guide to flow meters on hydroponic farms covers meter selection and the reading errors that mislead balancing work, and the article on distribution uniformity explains what an unbalanced system looks like at crop level.

Recording and Handover: What Goes in the File
Commissioning data is only useful if it survives handover. The minimum record for the water side:
- Flush log: sections flushed, dates, discharge clarity results, flush water destination.
- Pressure test records: test pressure, hold duration, ambient temperature, pass or fail per section.
- Balancing sheet: design flow, measured flow and final valve setting for every zone, with meter serial numbers.
This file becomes the baseline for every later diagnosis. When a zone drifts low in year two, the balancing sheet is what tells you whether it drifted or was never right. The site-wide checklist this work fits into is set out in the guide to system commissioning, installation sequence and site acceptance.

New-line flushing done to a plan, a pressure test recorded before anything is buried, and zone flows balanced to ±10% — these three close out the water side of commissioning, and they are the difference between a first crop that establishes evenly and one that fights the pipework for a month.
FAQs About New-Line Flushing
How long should new pipework be flushed before planting?
A planning range of 15–30 minutes per branch at 1.0–1.5 m/s, verified by two clear discharge samples taken 10 minutes apart, covers most new installations. Long mains or lines that sat full of water for weeks need a longer soak and possibly a sanitiser pass before the flush.
Can we flush straight into the nutrient tank to save water?
No. Flush water carries construction debris, cement residue and storage dust, and a tank is difficult to clean once loaded with it. Route flush water to drain and only reconnect returns after discharge clarity is confirmed.
What pressure should the test hold, and for how long?
A common planning standard is 1.25–1.5 times maximum working pressure held for 30–60 minutes with no measurable drop, but the governing figures are the pipe manufacturer’s test rating and your local code. Never exceed the manufacturer’s maximum test pressure, which drops as pipe temperature rises.
How much deviation from design flow is acceptable after balancing?
Roughly ±10% of design flow per zone is a workable planning tolerance, assuming calibrated meters and a steady pump duty point. Wider deviations show up first in the most distant gutters or laterals, which is exactly where the crop hides the problem longest.
Do emitters and drip lines need their own flush after the mains are clean?
Yes. Open lateral ends and flush manifolds after the mains, before installing final filter elements and before closing any drip line ends. Debris sits in the low-velocity laterals even when the mains run clear, and it migrates to emitter seats once the system starts cycling.
Related Reading
- Water Hammer: Pressure Spikes, Symptoms and How to Stop Them — The spikes a fast fill and quick valve closure create in new lines
- Zone Balancing Valves and Flow Setting — The valve hardware behind the balancing method above
- Air Locks in Hydroponic Irrigation — The air pockets a rushed fill leaves at high points
- Filter Backwash and Differential Pressure — Reading the filter the flush just loaded
- Drain-Down and Flush Points — The valving that makes every future flush possible
Next Step: What to Send for a Quotation
Pipework packages are easy to quote and easy to get wrong — the flush points, test valves and balancing hardware that make commissioning possible cost little at order time and are expensive to retrofit. If they are not on the drawing, they will not be in the container.
Planning an installation? For an RFQ or project consultation, send: greenhouse dimensions and zone count; system type per zone; pipe diameters, materials and total run lengths; design flow per zone and pump duty point; raw water source and analysis; available water pressure and drainage points at the flush locations; delivery schedule; and the budget band. G AND N FORTUNE LIMITED supplies NFT channels, Dutch bucket and substrate systems with pipework, balancing valves and flush points specified against those inputs.