

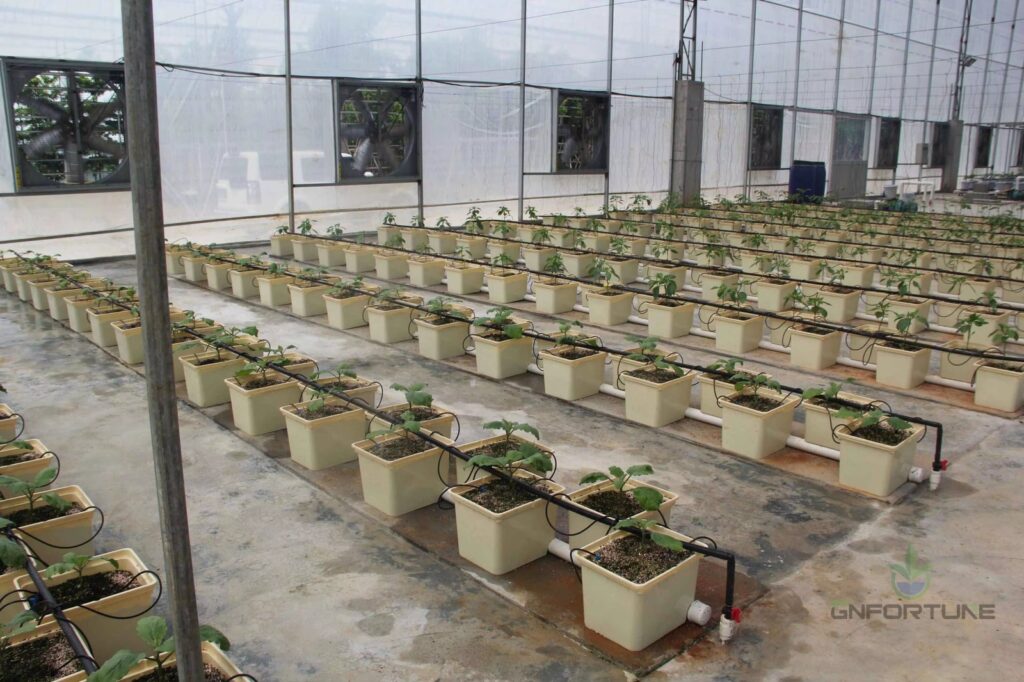
A commercial drip irrigation system for Dutch bucket rows meters nutrient solution through small emitters straight into each bucket of perlite or coco, on a schedule set by crop stage and climate. Done right it is the most even way to irrigate a fruiting-crop row: every bucket gets the same dose, runoff returns to the tank, and daily labor falls to a line flush and a glance at the pressure gauge. Done carelessly it fails slowly — a plugged emitter here, a dry bucket there — and the crop shows the damage weeks before the drip problem is found. This guide covers the numbers that prevent that: emitters per bucket, flow and pressure for a 1,000-bucket block, line sizing, and filtration.
Dutch bucket system with drip lines inside a commercial greenhouse |Emitter Choice: Flow Rates and How Many Drippers per Bucket
Two emitter families dominate Dutch bucket work. Non-compensating turbulent-flow drippers are cheap and fine on short, level rows, but their output falls as pressure drops along the lateral. Pressure-compensating (PC) drippers hold a rated flow across roughly 1–4 bar, which makes them the default once rows pass 25–30 m, the block sits on sloping ground, or several zones share one pump. Rated flows are commonly 1, 2, and 4 L/h.
How many drippers per bucket follows the peak daily dose. Work out liters per bucket per day at peak season, then divide by the total irrigation minutes available. A tomato bucket needing 4–6 L/day in peak summer, delivered over about 60 minutes in six to ten short events, needs roughly 4 L/h of capacity at the bucket. Spread that across two drippers and a blocked line on one side no longer kills the plant before the afternoon check. Peppers and cucumbers run lighter, as the table shows.
| Crop | Typical dripper set-up per bucket | Total capacity | Note |
|---|---|---|---|
| Peppers, eggplants | 1 × 2 L/h | 2 L/h | Moderate demand; one emitter is enough |
| Cucumbers | 2 × 1 L/h or 1 × 2 L/h | 2 L/h | Flow kept low early to control growth |
| Tomatoes, full season | 2 × 2 L/h or 1 × 4 L/h | 4 L/h | Redundancy plus peak-summer capacity |
Sizing a Commercial Drip Irrigation System: Flow and Pressure for 1,000 Buckets
Every drip design starts from the same question: how much water, at what pressure, at the moment the most demanding zone is running. Start with flow. Emitters per bucket × rated emitter flow × bucket count gives the total instantaneous demand. A 1,000-bucket block at 2 L/h per bucket demands 2,000 L/h — about 33 L/min — if every bucket runs at once. You rarely run it that way. Split the block into four 250-bucket zones drawing about 8.3 L/min each, and the pump is sized for one zone plus a safety margin.
Now pressure. A PC dripper needs 1.0–1.5 bar at the last emitter in the line. Add the static lift from water surface to the highest dripper (commonly 2–5 m), then the friction and fitting, valve, and filter losses — a realistic allowance on a compact layout is 1–2 bar. Pump head equals the dripper working pressure plus those losses; select the pump where that head and the zone flow cross on the curve, not from the nameplate alone.
Two instruments belong on every block: a flow meter and a pressure gauge at each zone manifold. A zone drawing more flow at less pressure is losing water somewhere; a zone drawing less flow is plugging. Without the gauges both faults hide for weeks while the crop suffers. The wider layout math for a whole greenhouse follows the same method at larger diameters and flows.
Mainline and Lateral Sizing: PVC vs PE
Dutch bucket plumbing has two roles and they deserve two materials. Mainlines and submains around the greenhouse are normally rigid uPVC — dimensionally stable, glue-joined or gasketed, and cheap per meter at 50–63 mm. The laterals running along each row are normally black PE: flexible, UV-stabilized, and easy to tap with barbed fittings or microtubes.
- uPVC mains and submains (50–63 mm): supported on brackets or buried, with an isolation valve at each zone. Long glued runs need expansion compensation, or joints creep and weep across seasons.
- PE laterals (16–25 mm): sized so friction does not rob the far end of the row. A 16 mm lateral feeds short rows; step up to 20–25 mm for long rows or higher flows.
- Microtubes (3–4 mm) with drip stakes: keep these runs short and identical, because the tube is where air locks form after a flush.
Rules we start from: keep lateral velocity below about 1.5 m/s and mainline velocity below 2 m/s, then verify pressure at the far dripper rather than trusting the pump nameplate. Pressure ratings, UV life, and cost per meter of pipe materials are compared in the farm irrigation pipes guide, the companion piece to this one.
Filtration: Why Disc Filters Beat Screen Filters with Coco and Perlite
Dripper channels are small, so the filter must stop far finer material than the dripper opening. The practical target is 120 mesh, about 130 microns. The real argument is not whether to filter to that level — it is which filter body stays clean while doing it.
- Screen filters trap particles on the surface of a mesh. Cheap and easy to inspect, but coco fines and perlite dust blind them quickly and the pressure drop climbs fast between cleanings.
- Disc filters trap debris in depth between stacked grooved discs. They hold several times more fines before the differential rises, and they backflush clean in seconds.
- Sand media filters handle heavy organic or algae loads and big flows, but cost more and take up space — reserved for surface water, not clean well or RO sources.
On coco and perlite the fines keep shedding for the whole first season, not just the first flush. Fit a 120-mesh disc filter on the block manifold with a differential-pressure gauge across it, and backflush at a 0.3–0.5 bar drop. That single habit protects every dripper downstream.
Clogging, Uneven Drip, and Dry-Root Incidents: Field Fixes
| Symptom | Probable cause | Fix we apply |
|---|---|---|
| One bucket stays dry while neighbors drip | Air lock in the microtube or at a lateral high point | Add air vents at high points; purge tubes after every flush |
| Zone flow drops over weeks | Filter loading, or precipitates from mixed fertilizers | Backflush at set differential; keep calcium and phosphate in separate stock tanks |
| First buckets wet, last buckets dry | Friction too high; lateral undersized or overlong | Step up lateral size or feed the row from both ends |
| Drip even but roots dry | Scheduling error, not delivery | Add events; check drain volume per bucket, not just the timer |
The acceptance test we run before a block goes live: fill every bucket with your actual media, run the zone for a week on the real schedule, then open ten random buckets and compare drain volume. If ten buckets do not match within a few percent, one hundred will not either — and the fault is almost always air, filter loading, or a lateral sized on hope rather than friction loss. We run this test on every Dutch bucket block we commission.
Backflow and flushing belong in the same design. Every lateral needs a flush valve or removable end cap at the far end, because fines settle where flow is slowest. Flush weekly during the first season, then on whatever schedule drain readings justify. Once the delivery side is stable, move the scheduling to drain percentage instead of a fixed clock — the control layer is covered in our irrigation automation guide.
Putting the Design on the Bucket System
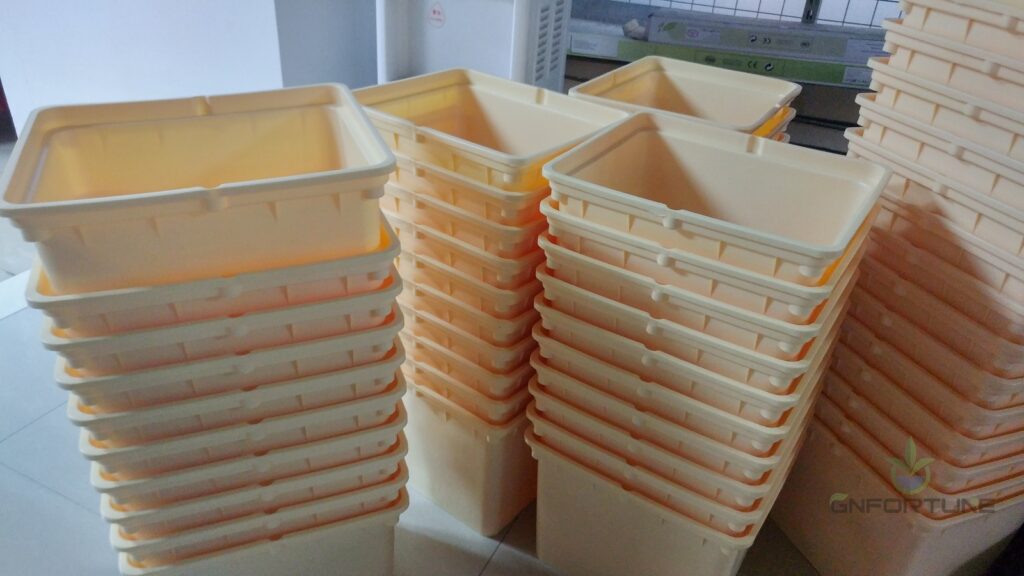
The plumbing is only half the project: dripper flow assumes the bucket, lid, and drain behave correctly, and bucket geometry varies between suppliers. The Dutch bucket system guide lists the lid and drain options that pair with drip set-ups. Crop-level irrigation curves for tomatoes sit in the Dutch bucket tomato handbook, and the cucumber version is in our growing cucumbers in Dutch buckets guide.
Rows of Dutch buckets with irrigation piping in a greenhouseFAQ
How many drippers should a Dutch bucket have?
A: One 2 L/h dripper is enough for peppers and cucumbers; two drippers per bucket are the safer choice for full-season tomatoes because the second keeps the plant alive if the first plugs.
Are pressure-compensating drippers worth the extra cost?
A: Yes on any row over about 25–30 m, on sloping ground, or with several zones on one pump. PC drippers hold their rated flow across 1–4 bar, so the last bucket gets the same dose as the first.
What filtration do drip emitters really need?
A: Filter to about 120 mesh (130 microns). With coco and perlite, a disc filter is the practical choice because it holds more fines than a screen and backflushes in seconds.
Why do drippers plug even with a filter installed?
A: Check for fertilizer precipitation — calcium and phosphate mixed in one stock tank drop out inside drippers. Keep them in separate tanks, inject after the filter, and flush lines on schedule.
How often should drip laterals be flushed?
A: Weekly during the first season with new media, then as often as drain readings and filter pressure justify. Every lateral needs a flush valve or removable end cap at its far end.
Get a Drip System Design and BOM for Your Dutch Bucket Project
Send your greenhouse layout, bucket count, row spacing, and crop plan through the quote form, and our team will return a drip design with emitter selection, zone layout, filter sizing, and a full bill of materials — whether the project starts at 200 buckets or 5,000.