

Most hydroponic project failures are designed in — before a single channel ships. The layout that looks clean on paper can hide flow-rate mistakes, dead-end rows and an irrigation room that doesn’t fit reality. This guide walks through how a commercial hydroponic system design comes together, what a complete design package must contain, and the spec points buyers should check on any supplier’s drawing before signing.
Where Design Starts: Not with Equipment
A proper design sequence runs in this order. Suppliers who start with a product catalog are selling, not designing:
- Crop plan & market — what sells, at what volume, in what size grade
- Site facts — greenhouse dimensions, floor level, power capacity, water source and quality
- System selection — NFT / buckets / gutters / mixed, per the crop plan (system comparison)
- Layout design — zones, rows, walkways, irrigation room
- Equipment spec — channels, stands, pumps, filtration, dosing
- Verification — flow rates at row ends, load checks, redundancy
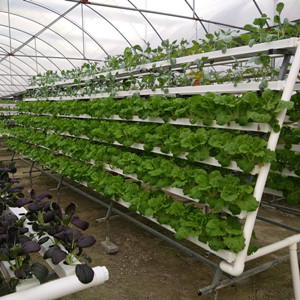
The Four Layout Decisions That Cannot Be Retro-fixed
| Decision | Why it’s permanent | Design check |
|---|---|---|
| Floor slope & drainage | Return lines run by gravity; dead-level floors pool | Verify actual floor levels — laser, not assumption |
| Irrigation room position | Pump head and pipe runs depend on it | Central, at the low end, with access for tanks |
| Nutrient loop split | Mixed crops need separate loops from day one | One loop per crop family, one panel |
| Zone partitioning | Expansion and shutdowns happen by zone | Each zone independently isolated and drained |
Everything else — stands, channels, drippers — can be reworked with modest cost. These four are embedded in concrete and pipe runs. When we’re brought in to “fix” a struggling layout, the problem is almost always in this table, and the fix is usually expensive.
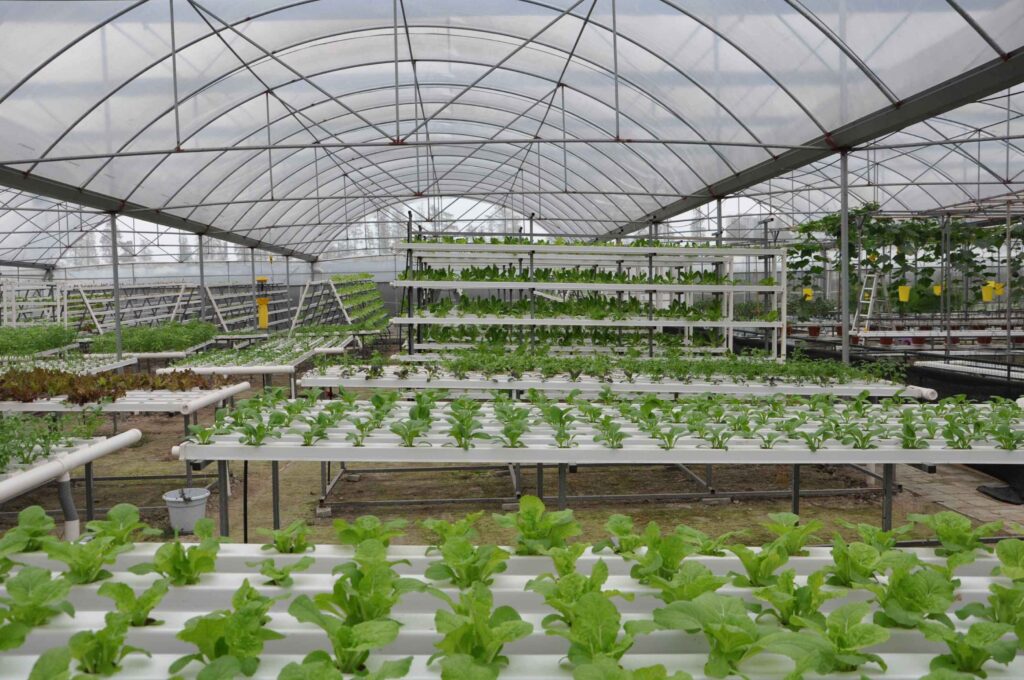
Reading a Supplier’s Diagram Like an Engineer
Whether you’re reviewing our drawings or another supplier’s, these are the checks that separate a real design from a picture:
- Flow rate annotated at row ends — not just at the pump. Head-end numbers hide tail-end starvation.
- Channel runs labeled with length and slope — any run over ~10–12 m should be split, or the drawing should say why it isn’t
- Pump duty point stated — flow at the actual head, not the pump’s open-flow rating
- Standpipe / return sizing — return capacity ≥ total supply, or rows back up at peak flow
- Water source & filter spec matched — a 120-micron screen on pond water is a clog calendar, not a design
- Load paths for gutters and trellis — weight goes somewhere; that somewhere should appear on the drawing
Buyer’s test: ask the supplier to walk you through what happens when one pump fails mid-afternoon in summer. A designed system has an answer — backup pump, alarm, auto-swap. An undsigned one has a shrug. This single question has ended more bad purchases than any spec comparison.
Spec Points Worth Writing Into Any Order
- Channel material: food-grade UV-stabilized PVC-U, with resin grade and UV package stated in writing
- Wall spec on buckets/pipes: nominal thickness — the number that decides 5-year vs 18-month field life
- Drippers: pressure-compensating, rated flow stated
- Standards compliance: drinking-water-contact certifications for anything the nutrient solution touches
- Spare parts list: included in the quote, not discovered missing at first maintenance
Full installation parameters (slope setting, flow checking, commissioning sequence) are covered in the NFT channel installation guide.
What a Complete Design Package Contains
- Zone layout drawing with dimensions and walkways
- Channel/row schedule (lengths, counts, spacing)
- Irrigation schematic — supply, return, filtration, dosing, pumps with duty points
- Electrical loads summary for your electrician
- Commissioning checklist and operating parameter sheet
If a supplier’s “design” is a channel count and a price, you are buying parts, not a farm. The package above is the minimum we deliver with every project — and it’s the list we’d hand you even if you bought nothing from us.
FAQ
Should I hire a separate designer?
A: For standard leafy-greens and vine-crop systems, a manufacturer with project experience designs as part of the quote. Independent designers earn their fee on unusual sites — rooftop loads, renovations, mixed-use buildings.
How long does design take?
A: A layout and schematic typically takes 1–2 weeks after we receive site dimensions, water test and crop plan.
What information do you need from me?
A: The list is short — greenhouse dimensions, floor condition, power capacity, water source, crop plan, target weekly output. Submit it via the quote form.
Get Your Layout Reviewed
Send your greenhouse dimensions and crop plan — we’ll return a zone layout, channel schedule and irrigation schematic you can compare against any other quote. Start on the quote page.