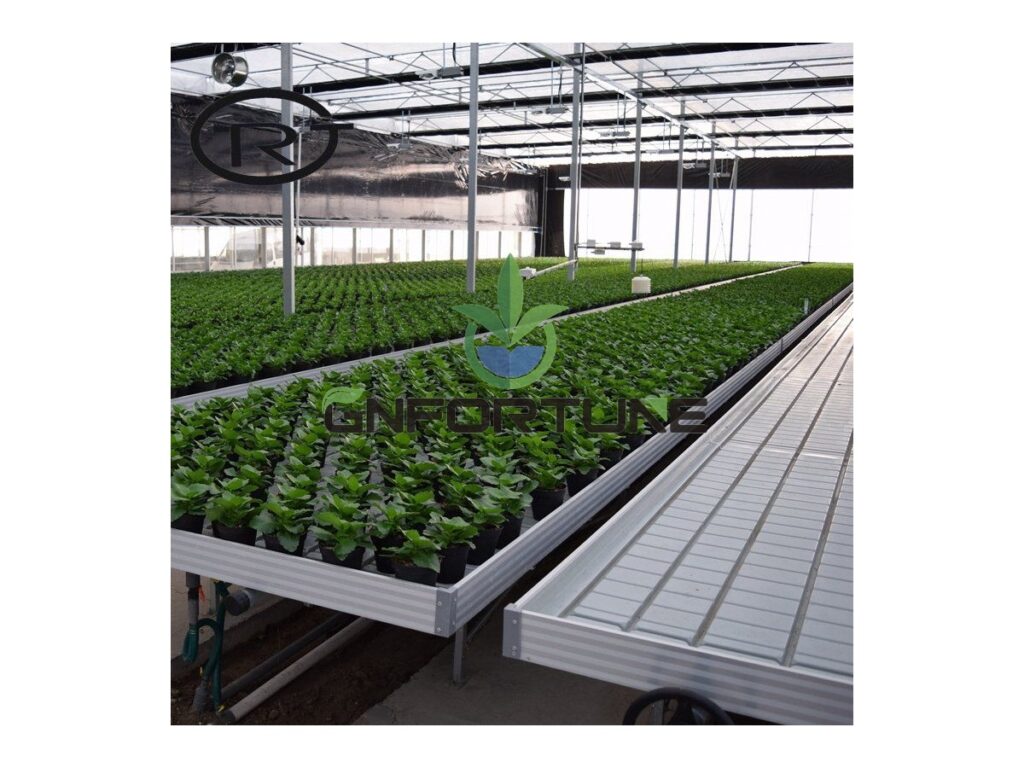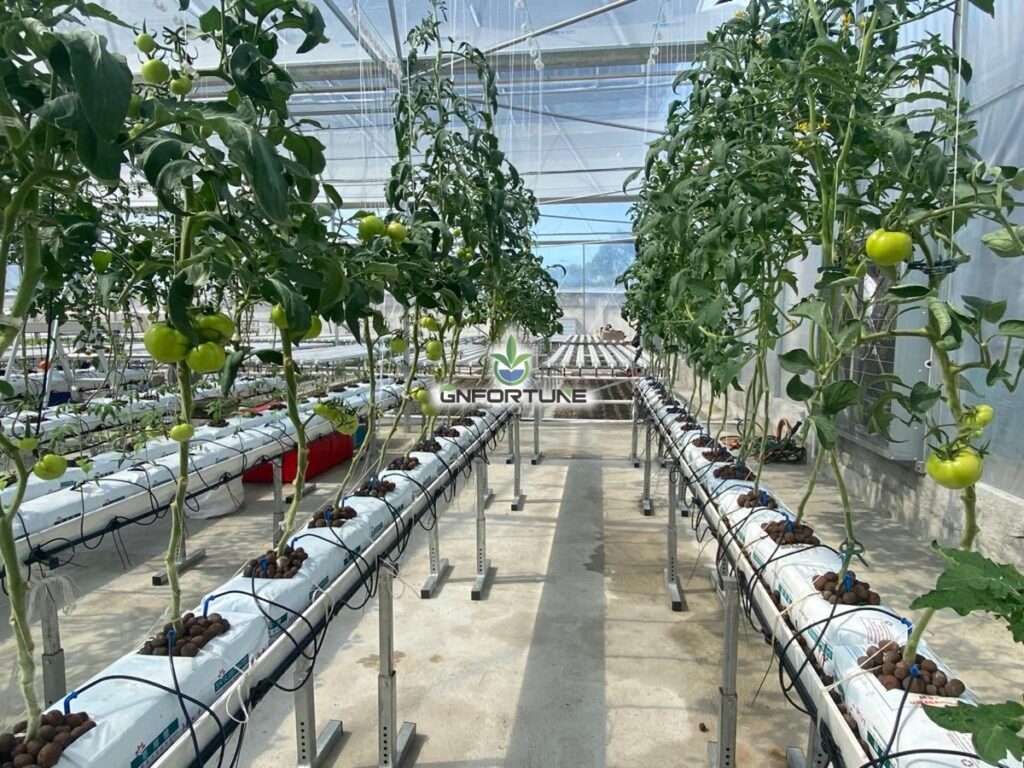
A greenhouse electrical panel spends its working life in a warm, chlorinated room that gets hosed down, and it is usually ordered last. That sequence explains most failures found on site: boards mounted within reach of a pressure washer, one large residual current device protecting a whole ventilation group, and cable trays sharing a route with the irrigation main. The remedy starts before any circuit exists, with a zone map. Then come the circuit split, wet area circuit design rules for residual current protection, enclosure ratings that survive daily wash-downs, and a decision about spare ways for the next phase.
Zone Map Before the Circuit List
Circuits should follow the process, not the building. Each zone has a different outage tolerance and a different wash-down severity, so it gets its own board and its own protective devices. The list below is the starting point most commercial sites recognise.
| Zone | Main loads | Feed philosophy | Common pitfall |
|---|---|---|---|
| Irrigation and pumps | Circulation, transfer | Own board, redundant units split | Duty and standby paired |
| Dosing and mixing | Injectors, agitators | Small board in the fertigation room | Fumes attacking copper |
| Climate and vents | Fan banks, screens | One way per fan bank | Eight drives behind one breaker |
| Propagation and lighting | Fixtures, mist pumps | Essential board with UPS | Night dip resetting the room |
| Pack house and cold store | Conveyors, chillers | Separate board, wash-down rated | Sockets feeding site services |
Irrigation carries the crop risk, so redundant sets there must sit on different protective devices. That essential part of the board is the same one fed by the generator discussed in generator sizing for a hydroponic farm, and drawing both at once avoids duplicating ways later.
Circuit Split and Diversity Factors
Diversity is the ratio between connected load and what a feeder really carries. Continuous motor loads sit near 0.8 to 1.0, sockets nearer 0.4 to 0.6, lighting close to 0.9. Apply it per zone rather than to the whole board, since blending a pump group with a socket group hides both behaviours.
Take one zone with 12 circulation pumps at 1.1 kW, three 2.2 kW transfer pumps and a 1.5 kW control supply: about 21 kW connected. Taking 0.8 on pumps and 1.0 on controls gives roughly 16 kW computed, which on 400 V three-phase at 0.85 power factor draws about 27 A per phase. A 40 A device with 16 mm² cable carries that current, but over 80 m volt drop rules before the breaker does, so keep the total drop from origin to the furthest motor inside 3 to 5 percent.
- Redundancy: duty and standby on separate ways, or one trip empties every channel fed by the pair.
- Small motors: one way per fan bank or valve group so a fault stays traceable.
- Drives: their own way with a device type matched to the electronics.
- Future service: a zone with a known phase two justifies a spare way and gland plate now.
GFCI and RCD Rules Around Water
Residual current protection in a wet room does two jobs: shock protection at the load, and selectivity so one fault does not darken the whole house. Cover both by grading devices rather than fitting one large unit at the origin.
| Position | Device | Rating | Purpose |
|---|---|---|---|
| Origin of board | Time-delayed RCD | 100 to 300 mA | Insulation faults and fire risk |
| Distribution group | RCD or RCBO | 30 mA | Additional shock protection |
| Socket final circuits | RCBO | 30 mA, type A | One circuit lost per trip |
| Drives and dosing | RCBO | 30 mA, type F or B | Smooth fault currents handled |
Nuisance tripping has a cause worth finding rather than muting. Drives carry standing leakage, commonly 1 to 3 mA each depending on cable length and filter, so keeping the total near a third of a 30 mA device avoids unexplained trips. Long runs add capacitive leakage too.
Testing belongs on the calendar: press the test button quarterly, record date and result, and investigate any device that trips twice. Bonding and segregation alongside these devices sit in the notes on electrical safety in wet hydroponic areas.
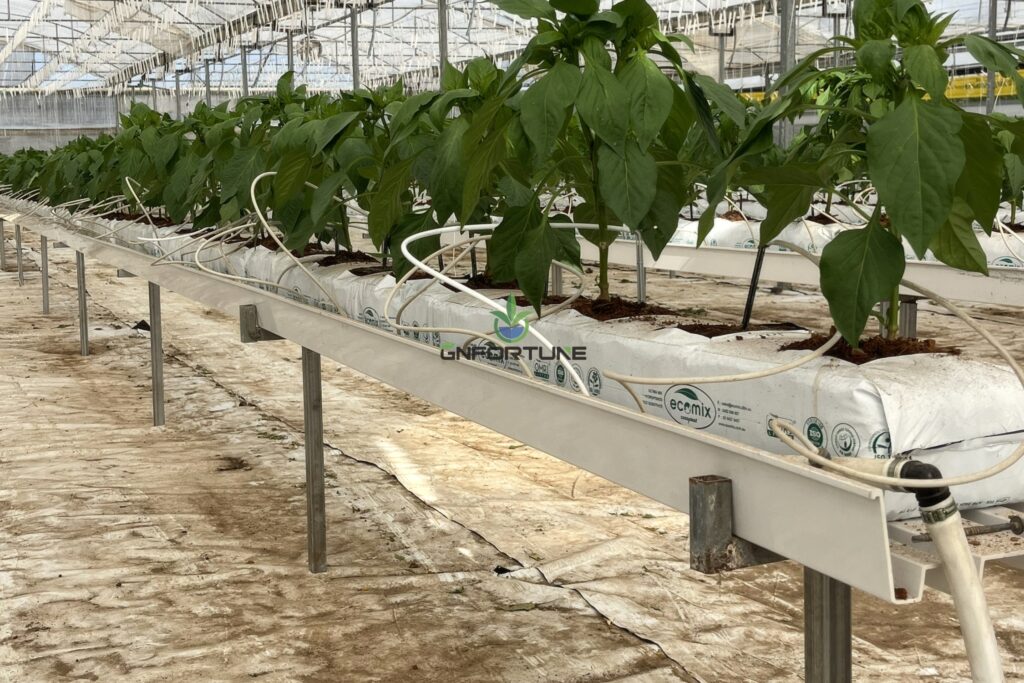
Greenhouse Electrical Panel Placement and IP Ratings
Enclosure rating follows the washing method rather than the room name. A dry corridor with hand cleaning can live at IP54; anything meeting a pressure washer needs IP65 with a gasket that gets inspected. Cable entries belong in the bottom face.
- Materials: GRP resists fertiliser fumes better than painted steel; 316 stainless next to acid dosing.
- Heat: sealed enclosures trap drive losses, so add a filtered fan and derate above about 40 °C.
- Height and access: handles roughly between 0.6 and 1.9 m, above the highest water level, front kept clear.
- Siting: avoid gable walls above channels, purlin drip lines and anywhere the panel becomes a shelf.
Surge protection sits at this point too. A type 2 arrester in the main board plus a type 3 unit near sensitive controllers costs less than replacing sensors after one storm season, and the coordination between them is set out in the article on surge protection and UPS for hydroponic controllers.
Cable Routes: Tray, Conduit and Water Separation
Routes fail from water and from mixing. Keep power trays clear of irrigation lines entirely, and where signal cable must share a tray, use a divider and keep separation around 200 to 300 mm, crossing at right angles.
- Above, not beside: trays above irrigation mains so a leaking coupling drips onto floor.
- Covers in wash zones: solid-bottom or covered tray over packing lines and wash-down routes.
- Tray material: GRP or stainless in fertigation rooms; galvanised elsewhere, cut edges treated.
- Below grade: conduit with draw boxes about every 30 to 40 m, drainage agreed before the slab pour.
- Terminations: drip loop before every gland, glands IP68, ferrules matched to the drawing.
Sensor and bus cable needs separate treatment. Give it its own route where possible, keep it away from pump outputs, and bond screens at one end so induced hum stays out of EC and pH readings.
Spare Ways for Phase Two
Panels are cheaper to over-specify than to replace. Leave 20 to 25 percent spare ways in each board, plus physical space for a future device group, and size the incoming device for the calculated load with headroom rather than exactly to it. Where a future zone is already known, run the spare cable now: pulling one length through an existing route costs a fraction of reopening a slab or tray later.
Labelling and the Single-Line Diagram
An unlabelled board turns a twenty-minute fault into a morning, and that is when crop is at risk.
Every visit that ends with a mystery trip starts the same way: a board whose labels describe the first installation, not the current one. Label both ends of each core with printed markers, number ways to match the drawing exactly, and keep a printed copy of the diagram inside the door.
The single-line diagram should show source, main device, each group device with rating, circuit references, cable size, route length and device ratings, with emergency circuits marked distinctly. Update it at the end of system commissioning and site acceptance, not months later, and keep the numbering identical across every document set handed to a client or insurer.
A greenhouse electrical panel drawing is also the backbone of safe work: isolation points, energy sources and lock positions are agreed from it, as set out in the guide to a working LOTO programme for wet environments. Quotations move faster when the same structure exists up front, and the hydroponic engineering input list shows what is worth collecting first.
Frequently Asked Questions
What IP rating should a greenhouse panel have?
A: IP54 for dry corridors, IP65 where pressure washing happens, with bottom cable entries and a gasket that gets inspected.
Do all circuits need 30 mA protection?
A: Sockets and portable equipment do. Distribution is usually protected upstream by a time-delayed 100 to 300 mA device so faults clear selectively.
Why does an RCD trip only in humid weather?
A: Standing leakage from drives and long cable runs accumulates, and damp insulation pushes it over the threshold. Fit RCBOs and measure leakage.
How much spare capacity should a board carry?
A: Around 20 to 25 percent spare ways plus space for another group, with the incoming device sized above calculated demand.
Can power and signal cable share a tray?
A: Only with a divider and about 200 to 300 mm separation, crossing at right angles. A dedicated route for sensor cable is better.
Request a Panel Layout Review
A sound layout comes from five decisions taken in order: zone map, circuit split with redundancy, residual current grading, enclosure rating and route separation. A greenhouse electrical panel built from that sequence survives being hosed down and can be extended without a rewrite, whether it sits in a pump room or a wash-down corridor. To share your single-line diagram draft and our engineers will review the circuit split before you order panels, send the zone list, connected loads and route lengths.