Dutch bucket (bato bucket) growing is the standard commercial method for greenhouse tomatoes, and for good reason: each plant gets its own root zone, drain-to-waste or recirculating flexibility, and a media buffer that forgives the odd equipment hiccup. But the system only pays when three things run together — layout, feeding discipline and labor planning. This guide covers the full season from layout to teardown, with the failure points we get called about most.
How the Dutch Bucket System Works
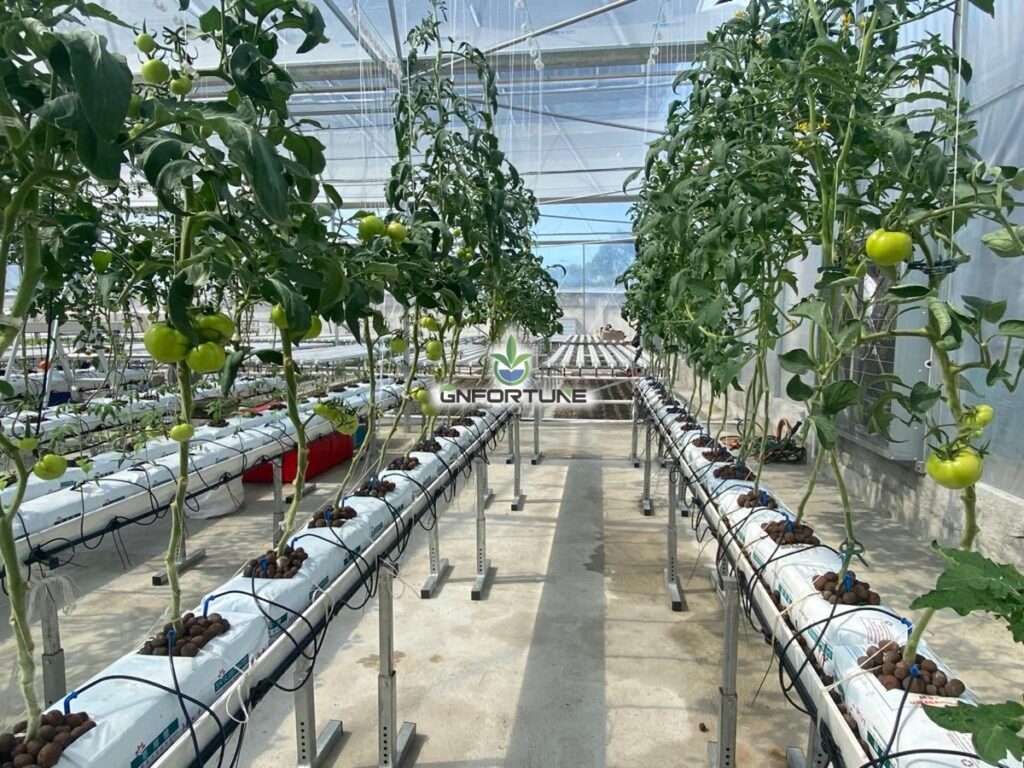
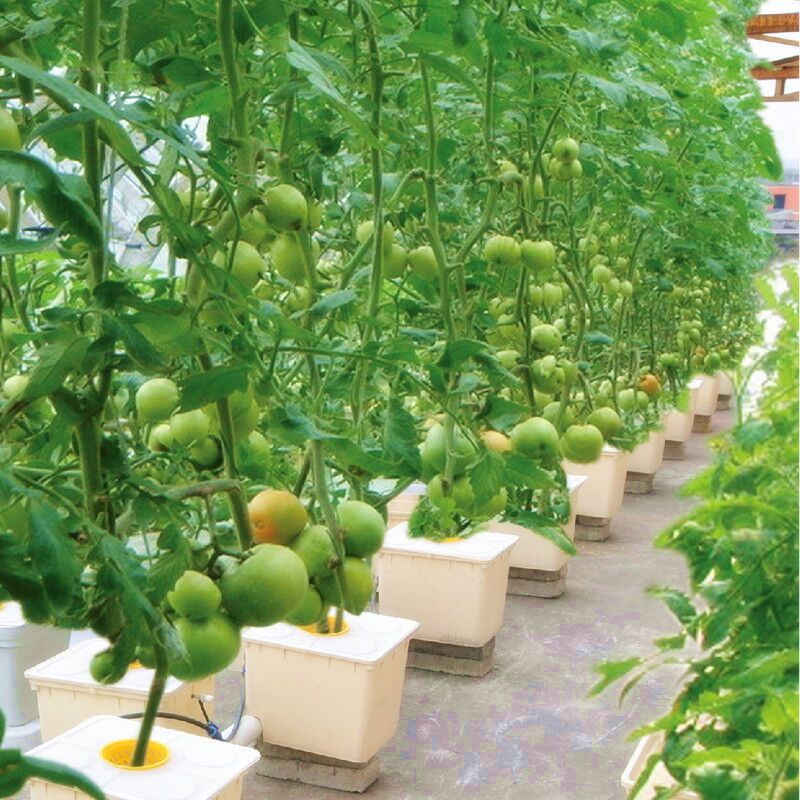
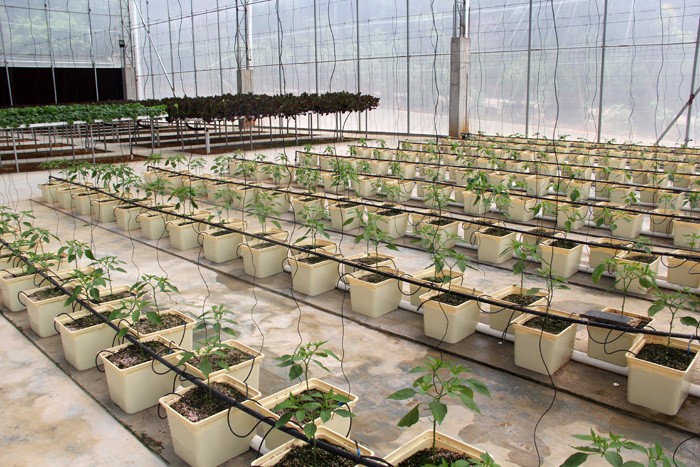
Each bucket (typically 10–11 L) sits on a drain line. A drip emitter feeds nutrient solution into the top through the media (coco coir, perlite, or a blend); excess drains from the bucket’s siphon outlet into the return line — either recirculated to the tank or discharged, depending on your design choice:
| Aspect | Recirculating | Drain-to-waste |
|---|---|---|
| Water/nutrient use | Lowest — solution re-used | Higher — 15–30% run-off discarded |
| Disease risk | Pathogens can loop through the tank | Isolated per bucket — lower epidemic risk |
| Monitoring burden | Continuous EC/pH control required | Simpler — feed fresh, measure run-off |
| Best fit | Closed systems, water-scarce regions | First-season farms, disease-cautious operations |
Our recommendation for new commercial growers: start drain-to-waste while you build monitoring discipline, convert to recirculating with a UV or ozone treatment stage in season two or three. Jumping straight to recirculation in season one couples every beginner mistake into one shared tank.
Layout & Planting Density
- Row spacing: buckets in double rows, ~1.6–2.0 m between centers — sized for your picking trolley, not your bucket count
- Bucket density: commonly 2.2–2.8 plants/m² for cluster tomatoes; beefsteak on the lower end, cherry higher
- Trellis: high-wire system with string lowering — budget the wire height and clips at layout stage
- Media volume: don’t undersize; a full-grown tomato plant in warm weather transpires liters a day through a root zone that needs real volume to buffer it
Feeding Program — Where Tomato Profits Are Made or Lost
| Stage | EC (mS/cm) | pH | Notes |
|---|---|---|---|
| Establishment | 1.8–2.2 | 5.5–6.0 | Gentle feed until first truss sets |
| Fruiting | 2.5–3.5 | 5.5–6.0 | Raise with light and fruit load |
| Hot-weather adjustment | Lower EC | — | High transpiration concentrates feed; dilute instead of pushing |
Read your run-off, not your feed tank. Run-off EC tells you what the root zone actually experienced. Feed EC 3.0 with run-off EC 5.0 means the plant is sitting in concentrate — usually a sign of under-irrigation, not over-feeding.
The mistake we see every season: farms set one irrigation timer in spring and never revisit it. Tomato water demand multiplies from spring to peak summer. Your run-off percentage should stay roughly constant through the year — 10–20% of feed volume. Run-off drops in summer? Irrigate more often, longer. Simple rule, widely ignored, expensive consequences.
The Season Calendar
- Planting: seedlings into pre-conditioned media (pre-wet and pre-charged with feed — never plant into dry or plain-watered media)
- Training (weeks 1–6): string training, de-leafing lower leaves as trusses set, side-shoot removal weekly
- Production ramp (weeks 6–10): first harvest; pollination assist or bumblebees; raise EC with fruit load
- Peak production (months 3–8): harvest 2–3× weekly; continuous head lowering on the wire; nutrient program follows fruit load
- Teardown & reset: media replaced or steam-treated (perlite re-usable up to 2–3 seasons with sterilization), lines flushed, drippers checked and replaced
Common Problems & Fixes
- Blossom end rot — calcium transport failure, almost always triggered by irregular irrigation rather than calcium shortage. Fix the watering clock before changing the feed.
- Uneven plants along a row — non-pressure-compensating drippers delivering head-heavy flow. Confirm dripper spec; this is a hardware fix.
- Salt buildup in media — visible white crust, growth stall. Scheduled over-drain flushes prevent it; once crusted, flush hard and reset.
- Clogged drippers mid-season — filtration undersized for the water source. If drippers clog more than occasionally, the filter is the problem, not the drippers.
Labor Reality
Tomatoes are a labor crop. Between de-leafing, lowering, cluster pruning and three-weekly harvests, count roughly 0.8–1.2 labor hours per m² per year at commercial standard — more in the first season while crews learn. Budget it honestly; most unrealistic business plans we review fail on labor, not on yield.
FAQ
Best media for tomatoes?
A: Coco-perlite blends are the commercial default; pure perlite in hot climates for predictable wet-dry cycling. See the dutch bucket system page for media options.
How many buckets per plant?
A: One bucket per plant is the standard for cluster tomatoes; some farms run 2 plants per bucket in cherry production to save capital — with the trade-off of a shared root zone and lower per-plant yield.
Can I grow peppers and cucumbers the same way?
A: Yes — the same bucket system with adjusted density and feed program. It’s the reason bucket lines survive crop-plan changes better than fixed NFT layouts.
Spec Your Tomato Line
Send your target planting density, greenhouse size and water source through the quote form — we’ll return a complete line itemization: buckets, drip, filtration, return piping and dosing sized for your season target.